Foolproof Guide: 3 Tricks to Determine the Perfect Whipped Cream Consistency|Must-Read for Baking Beginners

Whipping cream may seem simple, but it’s one of the most error-prone steps in baking—undermixed cream collapses, while overmixed cream turns grainy and watery. Master these 3 core techniques to identify the perfect consistency without professional tools. Even kitchen novices can nail the "golden moment" every time.
Trick 1: Texture Observation|Decoding Cream’s "Language"
Whipped cream progresses through liquid → foamy → soft peaks → stiff peaks. The transition from soft to stiff peaks is the ideal window.
- Steps:
1. Lift the whisk and observe how the cream falls:
- Soft Peaks:Cream flows slowly, leaving trails that disappear quickly (ideal for mousse or drink toppings).
- Stiff Peaks:Peaks stand upright with defined ridges (perfect for cake piping or decorations).
2. Golden Moment Sign:Glossy texture with peaks that gently curve downward like a "bird’s beak" (see visual guide below).
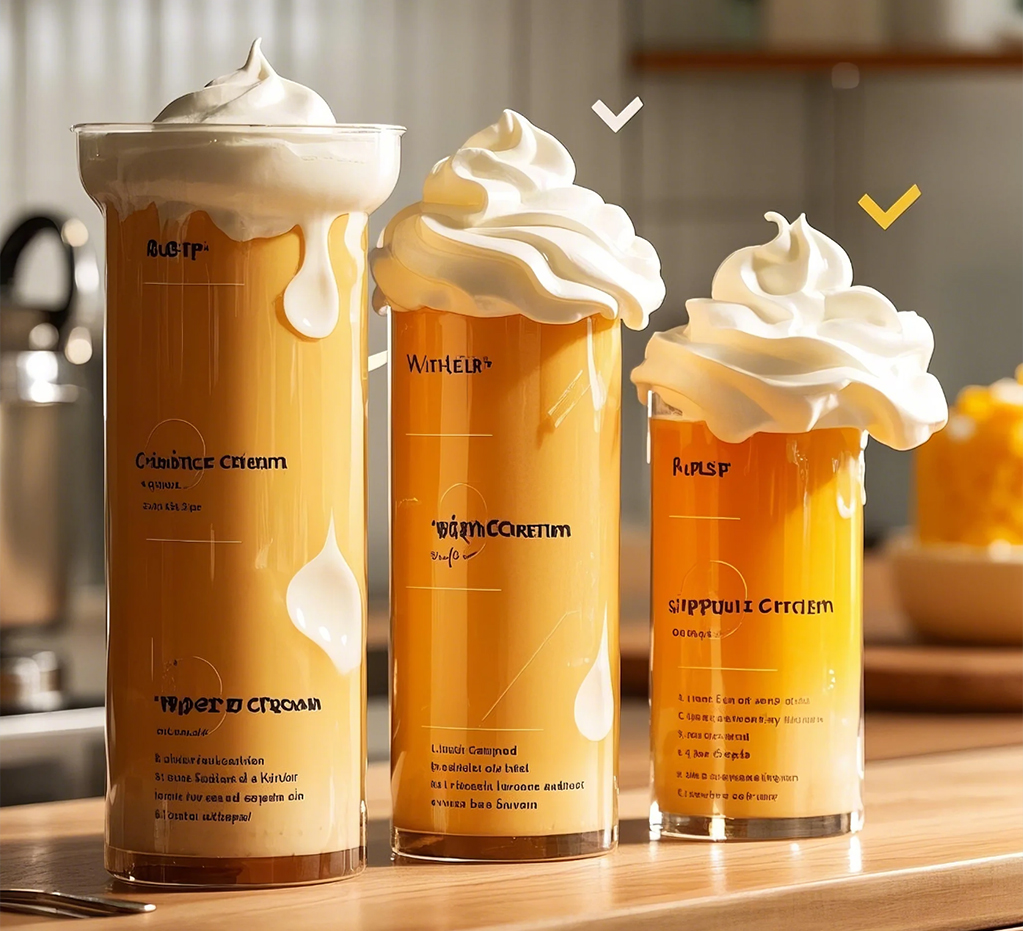
Pitfall Alert: If cream appears grainy or yellowish, it’s overwhipped. Fix by folding in 1-2 tbsp fresh cream at low speed.
Trick 2: Container Tilt Test|1-Second Stability Check
Use physics to assess consistency—no tools required, ideal for home bakers.
- Steps:
1. Tilt the mixing bowl at 45 degrees:
- Undermixed:Cream slides noticeably.
- Perfect:Cream holds shape with slight surface movement.
- Overmixed:Cream separates from the bowl’s edges.
2.Pro Tip: Drag a spatula through the cream—smooth cuts indicate airless, stable texture.
Science Behind It: Whipping creates a fat-network structure. Overmixing breaks this network, causing separation.
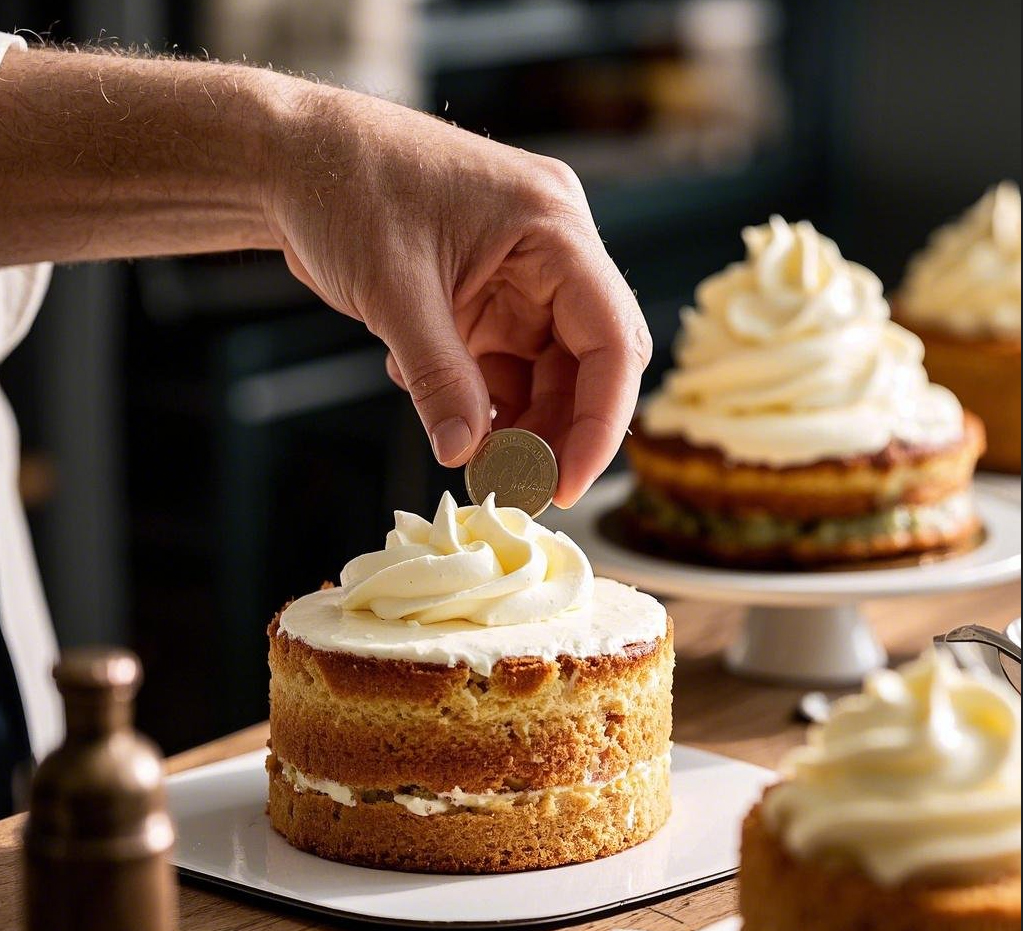
Trick 3: Coin Test|Old-World Wisdom, Modern Precision
A European baker’s secret: Use a coin to test structural integrity for piping-ready cream.
- Steps:
1. Gently place a clean coin on the cream’s surface:
- Pass: Coin sinks ≤1/2 its thickness (~3mm).
- Ideal:Coin barely dips at the edges (see demo).
2. Best For:Frosting layer cakes or intricate piping designs.
Pro Tip:Chill cream to 10°C (50°F) before whipping. In summer, place the bowl over ice water.
Troubleshooting FAQ
Q: Do plant-based and dairy creams share the same standards?
→ Plant-based creams (e.g., spray cans) hold stiff peaks longer but check for trans fats.
Q: Can I pause whipping midway?
→ Yes, if under 2 minutes. Resume by hand-stirring first, then mix at low speed.
Q: How to store leftover cream?
→ Seal in an airtight container with parchment paper pressed on the surface. Refrigerate ≤24hrs (freezing ruins texture).
Pro Secrets
Sugar Hack:Add 5g powdered sugar (not granulated) per 100ml cream for stability and to neutralize dairy tang.
Lemon Juice Magic:¼ tsp lemon juice boosts fluffiness and delays melting (no flavor impact).
Tool Choice:Hand whisks offer better control for beginners (takes 5-8 minutes).
Final Note
Master these tricks to not only perfect your cream but also understand the science behind it. Next time, observe textures → tilt the bowl → validate with the coin test. Level Up: Experiment with cream fat ratios(35% vs. 38%) to unlock new baking dimensions!